Google Sheets looks like a tool for numbers, but underneath it is a grid of cells, and every cell can be given a color. Three years ago, on 1 October 2023, I stood on the PyCon India 2023 stage in Hyderabad and showed how Python can use that grid as a canvas for painting images on Google Sheets, one cell per pixel. To mark the third anniversary of that talk, this post walks through the idea, the Google Cloud setup and the code, based on my final slides and the real repository.
Before the talk, I recorded a short video for my PyCon India proposal, with the explanation and a live demo. Watch the proposal video on YouTube.
You can also read the original proposal on the PyCon India 2023 site.
The idea: a spreadsheet is just a grid of pixels
A Google Sheet is a grid of cells, and every cell can have a background color. Similarly, an image is a grid of pixels, and every pixel has a color. As a result, if you match one cell to one pixel, the spreadsheet becomes a canvas for painting images on Google Sheets.
That is the whole talk, and it came from a small experiment. First, in 2020 I wrote a script that turned images into Excel files, using the xlsxwriter and openpyxl libraries. However, my Python history goes back further: in 2008 I wrote a Sudoku solver for Nokia Symbian 60 phones using Mobile Python. Then, for PyCon India 2023, I moved the idea to Google Sheets, where an API can do the painting from anywhere.
In practice, the problem breaks into three steps:
- Read the pixel data of an image.
- Set up a Google Spreadsheet as the canvas.
- Fill each cell with the color of its pixel.
Two terms matter throughout, because the API uses both. A spreadsheet is the whole book, and a sheet is one page (tab) inside it. The script adds a new sheet for every image you paint, so you can keep many pictures in one spreadsheet.
Setting up Google Cloud
Painting images on Google Sheets from Python only works if Google trusts your code. So five setup steps get you there, all in the Google Cloud console.
- Create a Google Cloud project. I named mine ImageToSheet.
- Enable the Google Sheets API. Open APIs & Services, choose Enable APIs and Services, search for Google Sheets API and enable it.
- Create a service account. Google’s credential guide lists three options: API keys (public data), OAuth client ID (user data with consent) and service account (data owned by your app). Therefore, a script that edits its own sheet needs the service account. I called mine
pythonsheetclient. - Create a key for the service account. Open the account, go to the Keys tab, then Add Key and choose JSON. Google warns that downloaded keys are a security risk if they leak, so keep the file out of shared folders. Save it as key.json next to the script; the repository’s .gitignore already excludes that name.
- Share the spreadsheet with the service account. The service account has its own email address, ending in
iam.gserviceaccount.com. Share the sheet with that address as an Editor, just as you would with a colleague.
After step 5 the script can open the spreadsheet with the key file. As a result, nothing else needs to be public.
The Python, file by file
The project for painting images on Google Sheets is three small files, released under the GNU General Public License v3.0:
| File | Job |
|---|---|
ImageToGoogleSheet.py | The main script: loads the image, adds a sheet, sends the pixels |
ImageToJSON.py | Turns the pixel array into one big updateCells request |
RequestDataClasses.py | The dataclasses that describe that request |
Get the code: the full project, including the notebook and sample images, is on GitHub: https://github.com/truepythoneer/ImageToGoogleSheet.
The snippets below come straight from the repository, with only the progress print lines trimmed.
Before you run it
- Create a fresh environment (I used Anaconda and installed the packages from conda-forge), then install the libraries:
pip install pillow numpy google-api-python-client google-auth google-auth-httplib2 httplib2 dataclasses-json tqdm colorama. - Save the service account key next to the script as
key.json. The repository’s.gitignorealready excludeskey.jsonand*.log, so the key stays out of Git. - Set the environment variable
SPREADSHEETIDto your spreadsheet’s ID. It is the part of the URL after/d/, and the number aftergid=is thesheetIdof one tab:
https://docs.google.com/spreadsheets/d/<spreadsheetId>/edit#gid=<sheetId>Code language: HTML, XML (xml)Then run it with the path of any image:
python ImageToGoogleSheet.py images/monasmall.png1. The class and its settings
First, everything hangs off one class. SQUAREWIDTH is the pixel size given to every column, and the spreadsheet ID and key file are read here.
class ImageToGoogleSheet:

    def __init__(self):
        self.imagepath = ""
        self.sheetName = ""
        self.sheetID = 0
        self.SQUAREWIDTH = 21
        self.SPREADSHEET_ID = os.environ['SPREADSHEETID']
        self.SERVICE_KEY = 'key.json'
2. Read the pixels with Pillow
Pillow opens JPG, PNG, GIF, TIFF and BMP files alike. However, images come in color modes such as RGB, CMYK and bitmap, but the sheet needs RGB values, so anything else is converted first. getdata() returns every pixel, and NumPy turns that into an array that is easy to index.
def __LoadImage(self):
    inputimage = Image.open(self.imagepath)

    self.width, self.height = inputimage.size

    if inputimage.mode != "RGB":
        inputimage = inputimage.convert("RGB")

    image_sequence = inputimage.getdata()
    self.image_array = np.array(image_sequence)Code language: PHP (php)
3. Connect with a service account
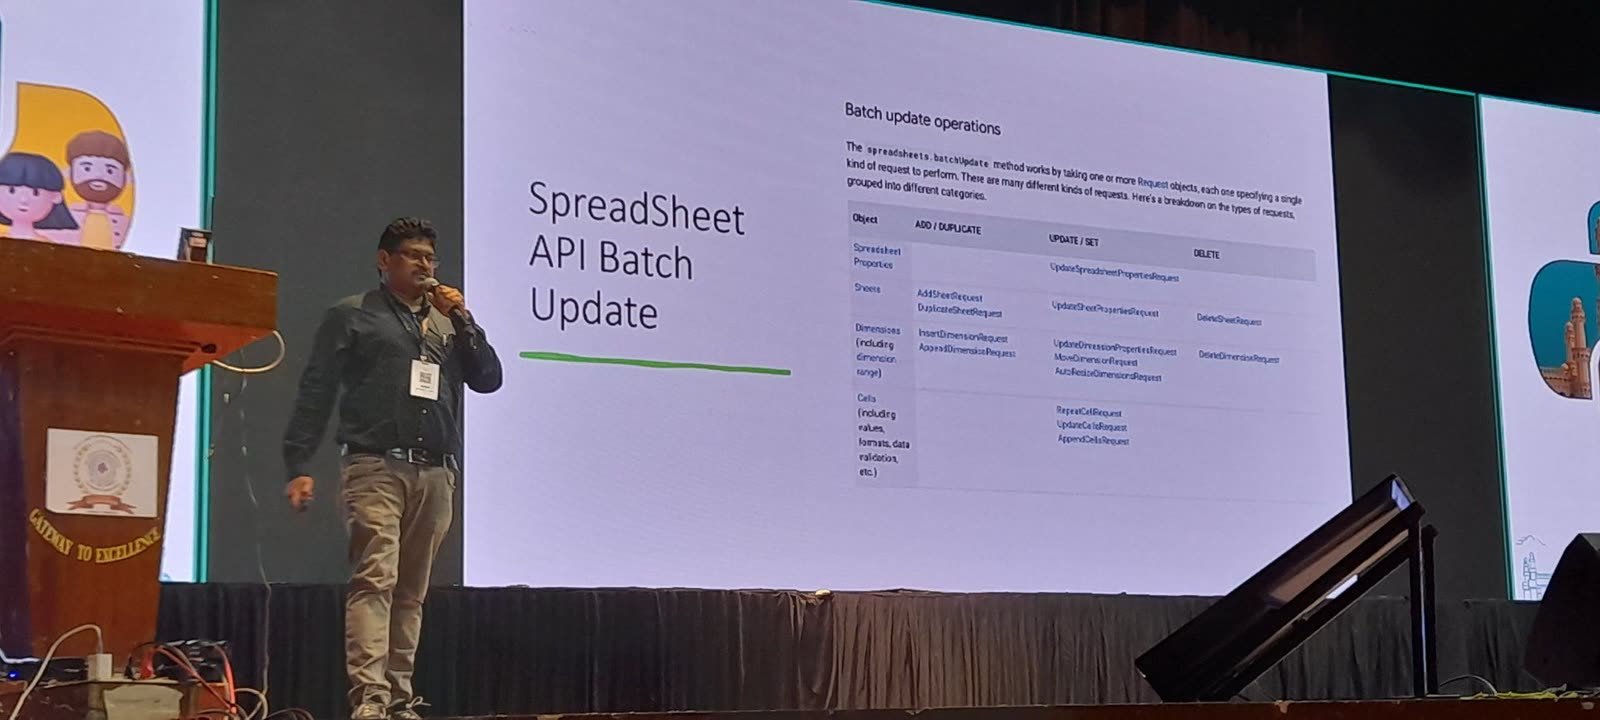
The key file and the Sheets scope give you credentials, and build returns a client for the v4 REST API. The method that does all the work is spreadsheets.batchUpdate. In other words, it takes a list of requests and applies them in one call.
SCOPES = ['https://www.googleapis.com/auth/spreadsheets']

creds = service_account.Credentials.from_service_account_file(
            self.SERVICE_KEY, scopes=SCOPES)

service = build('sheets', 'v4', credentials=creds)Code language: PHP (php)
The code wraps this in a __SetupProxy helper with a UseProxy switch, which is False by default. It routes traffic through a local proxy at 127.0.0.1:8888 so you can watch the API calls while debugging. That path turns off certificate checking, so leave it off otherwise.
4. Add a sheet sized to the image
The first request adds a new sheet with one row per pixel of height and one column per pixel of width. The sheet name is the month, weekday and Unix timestamp, so repeat runs never collide.
now = dt.datetime.now()
self.sheetName = f"{now:%b} {now:%a} {int(now.timestamp())}"

requests = []
requests.append({
    "addSheet": {
        "properties": {
            "title": self.sheetName,
            "gridProperties": {
                "rowCount": self.height,
                "columnCount": self.width
            }
        }
    }
})
body = {'requests': requests}

addsheetresponse = service.spreadsheets().batchUpdate(
                        spreadsheetId=self.SPREADSHEET_ID,
                        body=body).execute()Code language: PHP (php)
The reply contains the new sheet’s ID, which every later request needs:
self.sheetID = addsheetresponse['replies'][0]['addSheet']['properties']['sheetId']Code language: PHP (php)5. Make the cells square
By default a Google Sheets cell is 21 pixels tall and 100 pixels wide, which would stretch the picture. To fix that, a second request sets every column to SQUAREWIDTH (21 pixels), which matches the default row height.
requests = []
requests.append({
    'updateDimensionProperties': {
        'range': {
            'sheetId': self.sheetID,
            'dimension': "COLUMNS",
            'startIndex': 0,
            'endIndex': self.width,
        },
        'properties': {'pixelSize': self.SQUAREWIDTH},
        'fields': 'pixelSize'
    }
})
body = {'requests': requests}

setwidthresponse = service.spreadsheets().batchUpdate(
                        spreadsheetId=self.SPREADSHEET_ID,
                        body=body).execute()Code language: PHP (php)
6. Describe the paint job with dataclasses
The request that paints is updateCells. It takes a range, a list of rows and, for each cell, a userEnteredFormat holding a backgroundColorStyle. Writing those nested dictionaries by hand for a whole photo is out of the question, so RequestDataClasses.py models the request as dataclasses. I generated the first draft by pasting a small sample of the JSON into quicktype.
from dataclasses import dataclass
from dataclasses_json import dataclass_json
from typing import List

@dataclass_json
@dataclass
class Range:
    sheet_id: int
    start_row_index: int
    end_row_index: int
    start_column_index: int
    end_column_index: int

@dataclass_json
@dataclass
class RGBColor:
    red: int
    green: int
    blue: int

@dataclass_json
@dataclass
class BackgroundColorStyle:
    rgb_color: RGBColor

@dataclass_json
@dataclass
class UserEnteredFormat:
    background_color_style: BackgroundColorStyle

@dataclass_json
@dataclass
class Value:
    user_entered_format: UserEnteredFormat

@dataclass_json
@dataclass
class Row:
    values: List[Value]

@dataclass_json
@dataclass
class UpdateCellsClass:
    range: Range
    rows: List[Row]
    fields: str

@dataclass_json
@dataclass
class Request:
    update_cells: UpdateCellsClass

@dataclass_json
@dataclass
class UpdateCells:
    requests: List[Request]Code language: CSS (css)
The @dataclass_json decorator gives every class a to_json() method. Two details worth knowing: the field names are snake_case, and the color fields are annotated int even though they will hold fractions between 0 and 1 (Python does not enforce the annotation).
7. Turn every pixel into a cell
ImageToJSON.py loops over the image row by row and column by column. Each pixel’s red, green and blue values (0 to 255) are divided by 255, because the API wants each channel between 0 and 1. A tqdm progress bar shows how far along the rows are, which helps on large images.
class RequestBuilder:

    def ImageArrayToJSON(SheetID, image_array, width, height):

        range1 = Range(sheet_id=SheetID, start_row_index=0,
                       end_row_index=height+1,
                       start_column_index=0,
                       end_column_index=width+1)

        rows = []

        for rowid in trange(0, height, desc="Rows", unit="Rows"):

            columns = []

            for columnid in range(0, width):

                # Current pixel value in RGB
                pixel = image_array[rowid * width + columnid]

                pixelcolor = RGBColor(red=pixel[0] / 255,
                                      green=pixel[1] / 255,
                                      blue=pixel[2] / 255)

                bgcolor = BackgroundColorStyle(rgb_color=pixelcolor)

                myvalue = Value(user_entered_format=UserEnteredFormat(
                                    background_color_style=bgcolor))

                columns.append(myvalue)

            rows.append(Row(values=columns))

        cells = UpdateCellsClass(range=range1, rows=rows,
                                 fields='UserEnteredFormat')

        request = Request(update_cells=cells)
        updaterequest = UpdateCells(requests=[request])

        return updaterequest.to_json()
The real file also logs each cell and row through Python’s logging module. That makes the log file large on big images, but it is handy when a request is rejected.
8. Send it in one batch request
The builder returns a JSON string, but the API client wants a Python object, so json.loads converts it back before the call.
requestSON = RequestBuilder.ImageArrayToJSON(self.sheetID, self.image_array,
                                             self.width, self.height)

request = json.loads(requestSON)

response = service.spreadsheets().batchUpdate(
                spreadsheetId=self.SPREADSHEET_ID,
                body=request).execute()Code language: PHP (php)
9. Put it together
Finally, the public method runs the three stages in order. Each stage has its own try/except, so a failure tells you which step broke (loading the image, adding the sheet, or updating the sheet) and stops there. The __main__ block writes a log file and takes the image path from the command line.
def SaveImageToGoogleSheet(self, imagepath: str):

    self.imagepath = imagepath

    try:
        self.__LoadImage()
    except Exception as inst:
        print("Failed to load Image.")
        print(inst)
        return

    try:
        self.__AddNewSheet()
    except Exception as inst:
        print("Failed to Add new sheet.")
        print(inst)
        return

    try:
        self.__SaveImageArrayToGSheet()
    except Exception as inst:
        print("Failed to update Google sheet file.")
        print(inst)
        traceback.print_exc()
        return


if __name__ == "__main__":

    if(len(sys.argv) <= 1):
        print("Please pass the file name")
    else:
        imageload = ImageToGoogleSheet()
        imageload.SaveImageToGoogleSheet(sys.argv[1])Code language: Python (python)
The repository also includes ImageToGoogleSheet.ipynb, the same steps as notebook cells. That is the Jupyter demo from the talk. It also holds a sample image folder, including monasmall.png (the Mona Lisa) and pyconv.png.
What made painting images on Google Sheets hard
Four things slowed me down, and they are the reason the code looks the way it does.
- First, building the JSON for every pixel was the complex part. The request needs a deeply nested structure for each cell, and one image means thousands of them. Dataclasses solved it: the code loops through the pixels, builds one dataclass object per cell, and
dataclasses_jsonturns the whole object into JSON in a single step. - Second, the documentation is hard to follow. Google’s Sheets API docs were not user-friendly, and I had to dig through a lot of them to find the right requests.
- Third, most libraries treat Sheets as a data store. Existing libraries such as gsheets, pygsheets and gspread are only for data, so I could not use them for painting cells. Instead I built a small layer directly on top of the Sheets API.
- Finally, failed requests explain little. For example, a request was sometimes rejected with no detail on why. Python’s
loggingandtracebackmodules let me find the cause and fix my code, and the final script keeps both: it logs every request and prints a traceback when the last stage fails.
The demo: painting images on Google Sheets
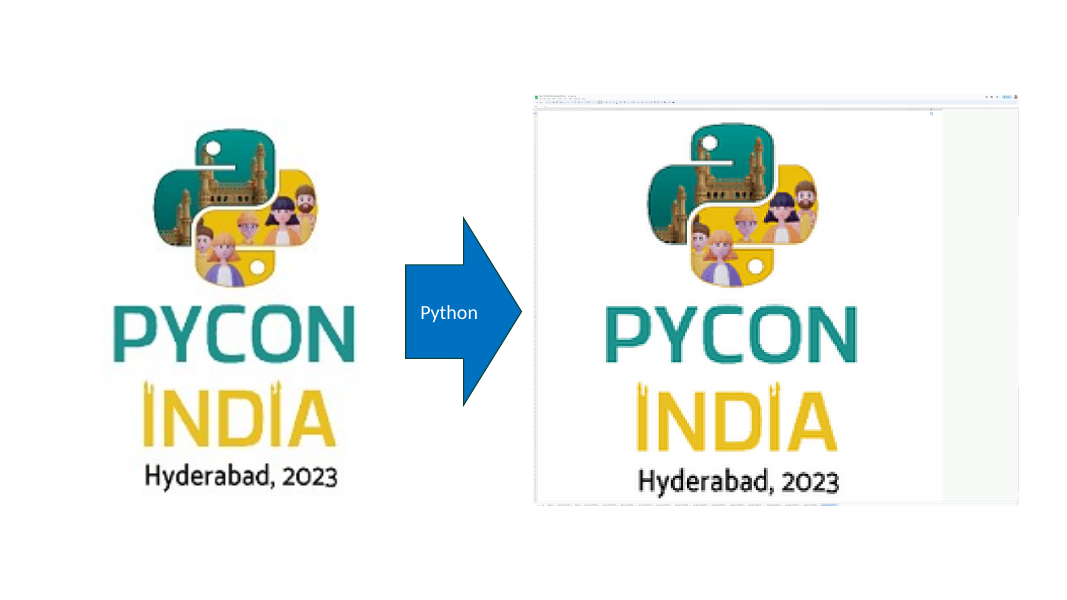
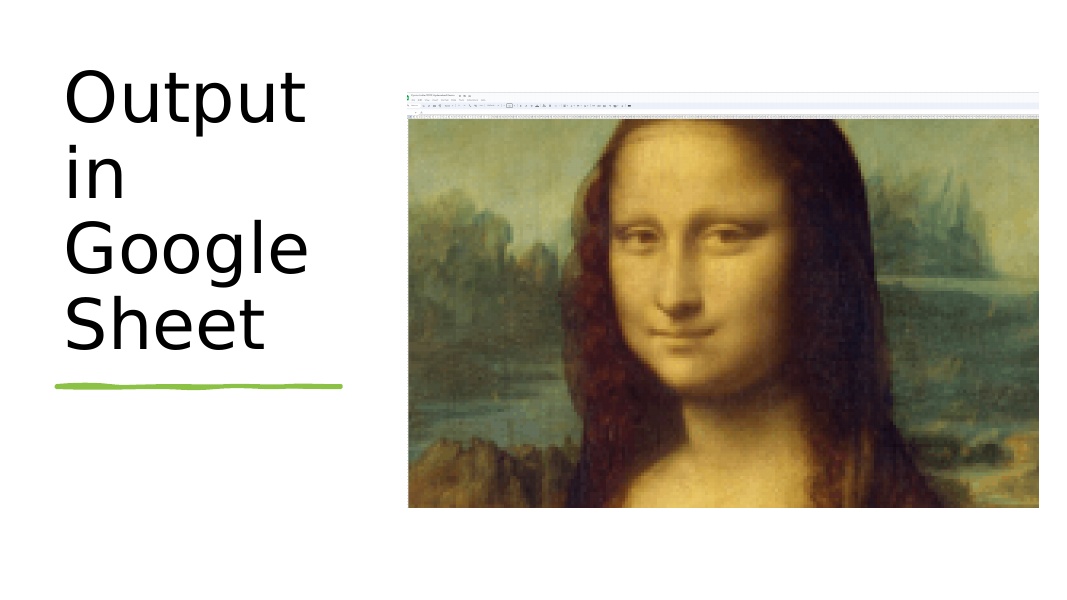
On stage I showed the script two ways: as a Jupyter notebook and from the command line. The first test image was the PyCon India 2023 Hyderabad logo, and it landed on the sheet as a cell-by-cell copy. The second was the Mona Lisa, which shows that photographs survive the trip too.
The run recorded for the proposal
The proposal video spends its first two and a half minutes on the approach and then runs the script live (the demo starts at 2:34). It was recorded before the code in this post was finished, so small details differ. For example, the recording creates sheets named “New Sheet” plus a number, while the final code names them from the month, weekday and timestamp.
This is what happens in the demo, in order:
- First, I pass an image to the script. It reports the size as 200 by 200 pixels, which is 40,000 cells.
- The image mode is RGBA. The script ignores the transparency and converts the image to RGB.
- Then, using those dimensions, it creates a new sheet. You can see the new tab appear at the bottom of the spreadsheet.
- Next, it makes the cells square.
- After that, it builds the JSON for every pixel. This step takes a little while, because the code goes through each pixel’s RGB values one by one.
- Finally, it submits one request to the Sheets API, which succeeds, and the picture appears as cell backgrounds.
- Because the image is bigger than the screen, the zoom matters: at 33 percent the whole picture fits, and you can scroll up and down the image.
Once an image is painted, the spreadsheet is an ordinary file, so it can leave Google Sheets in several formats:
- Excel
- HTML
What to take away
The whole trick of painting images on Google Sheets fits in six ideas:
- Set up a Google Cloud project.
- Give your code access through a service account and key.
- Read the image data with Pillow.
- Call the Google Sheets API with
batchUpdate. - Use dataclasses to build the request JSON instead of hand-writing it.
- Render any image on a Google Sheet.
However, the same steps apply well beyond pictures. Whenever a task means sending many formatted cells to a sheet, one batch request beats thousands of small ones.
The code is on GitHub: https://github.com/truepythoneer/ImageToGoogleSheet. Stars, issues and pull requests are welcome.
The slides from the talk are available as a PDF: PyCon India 2023 slides (PDF).
Thanks again to everyone at PyCon India 2023 who came to the talk. Now it is your turn: use the script to render your own images, share them to amaze your friends, and share the results with me.
- My blog: shashijeevan.com, Instagram @shashijeevan
- My Python blog: truepythoneer.com, Instagram @truepythoneer