If you’ve ever spent an afternoon staring at a cryptic ImportError, or watched a perfectly working project suddenly break after installing a new package, you’re not alone. Environment and setup issues are the most common friction point for Python developers — beginners and experienced ones alike. The good news? They’re almost entirely preventable once you understand a handful of foundational tools.
In this post we’ll cover three areas that cause the most pain:
Table of Contents
1. Virtual Environments
Python installs packages into a single shared directory by default. That sounds fine until Project A needs Django 3.2 and Project B needs Django 4.2 — and installing one breaks the other. Virtual environments solve this by giving each project its own isolated sandbox.
The Built-In Way: venv
Since Python 3.3, venv has shipped with the standard library. There’s nothing extra to install:
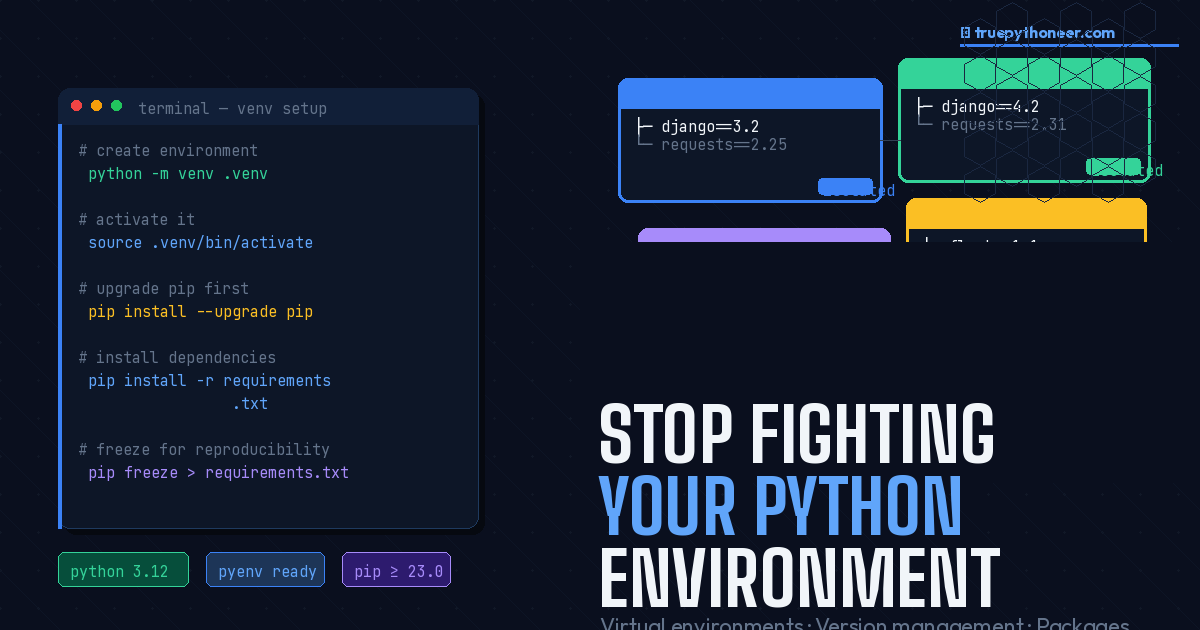
# Create the environment
python -m venv myproject_env

# Activate it — Windows
myproject_env\Scripts\activate

# Activate it — macOS / Linux
source myproject_env/bin/activate

# Install packages only inside this environment
pip install django==4.2.0 requests==2.31.0

# Done for the day? Deactivate
deactivate
Once activated, any pip install goes into that environment only. Your other projects are completely untouched.
Need More Control? Try virtualenv
The third-party virtualenv package offers slightly faster creation and better support for older Python versions. Activation works identically to venv once created.
Working with Data Science? Use Conda
Conda shines when your packages have heavy C/C++ extensions (think NumPy, SciPy, PyTorch). It manages both Python versions and binary dependencies together:
conda create -n ds_project python=3.11
conda activate ds_project
conda install numpy pandas scikit-learn
Best Practices
One environment per project — never share them. Always track your dependencies in a requirements.txt file and commit that to version control instead of the environment folder itself:
# Capture current state
pip freeze > requirements.txt

# Reproduce it anywhere
pip install -r requirements.txtYour
venv/ or .venv/ folder can easily be 100–200 MB and is platform-specific. Never commit it. Share requirements.txt instead.
Common Mistakes to Avoid
Installing packages without activating the environment first.
✅ Check your terminal prompt for the (myproject_env) prefix before running pip.
Committing the entire virtual environment folder to Git.
✅ Add it to .gitignore and share requirements.txt instead.
2. Python Version Management
Your OS ships with one Python version. The moment you need to maintain a Python 3.8 legacy service and develop a new app on Python 3.12, things get messy. Managing this without a dedicated tool usually ends in PATH chaos or, worse, a broken system Python.
macOS / Linux: pyenv
pyenv intercepts every python command with lightweight shims and routes it to whichever version the current project needs:
# Install pyenv via Homebrew (macOS)
brew install pyenv

# Install whichever versions you need
pyenv install 3.9.18
pyenv install 3.11.7
pyenv install 3.12.1

# Set a global default
pyenv global 3.11.7

# Override for a specific project — creates a .python-version file
cd my_project
pyenv local 3.9.18
Commit the .python-version file to Git so every team member automatically uses the correct Python version for that repo.
Windows: The py Launcher
Windows ships with a py launcher that lets you target any installed Python version directly:
# See what's installed
py --list

# Run a specific version
py -3.11 script.py

# Create a venv with a specific version
py -3.11 -m venv myenv
Maximum Isolation: Docker
For CI/CD pipelines or production parity, nothing beats a container:
FROM python:3.11-slim
WORKDIR /app
COPY requirements.txt .
RUN pip install -r requirements.txt
COPY . .
CMD ["python", "app.py"]If you maintain a library, use
tox to run your test suite against every supported Python version in one command. A simple tox.ini with envlist = py39,py310,py311,py312 covers all your bases.
On macOS and Linux, the system Python is used by OS tools. Modifying it can break things you didn’t even know depended on Python. Use
pyenv and leave system Python alone.
3. Package Installation Problems
Even with a clean environment, package installation can still bite you. Here are the three most common failure modes and how to deal with them.
Permission Errors
If you see EnvironmentError: [Errno 13] Permission denied, resist the temptation to prefix your command with sudo. That modifies system Python and is a path to pain. The right fix is simpler:
# Just use a virtual environment — this is why they exist
python -m venv venv
source venv/bin/activate   # Windows: venv\Scripts\activate
pip install package
Compilation Errors
Windows users often hit errors like “Microsoft Visual C++ 14.0 is required.” This happens when a package needs to compile C extensions and your machine is missing the build toolchain.
# Request a pre-compiled wheel instead of building from source
pip install package --only-binary :all:

# Or on Linux, install the system build tools first
sudo apt-get install build-essential python3-dev
For data science packages in particular, Conda is worth a try — it ships pre-compiled binaries for nearly everything.
Dependency Conflicts
The classic version tug-of-war: Package A needs numpy<1.20, Package B needs numpy>=1.21. A few strategies help here:
# Pin an explicit compatible version manually
pip install numpy==1.20.3 package_a package_b

# Use pip-tools to manage complex dependency graphs
pip install pip-tools
# Write loose requirements in requirements.in, then:
pip-compile requirements.in   # produces a locked requirements.txt
pip-sync requirements.txt
Best Practices for Bulletproof Installs
Always upgrade pip before installing anything in a new environment — older versions have a much weaker dependency resolver:
python -m pip install --upgrade pipFor production deployments, pin your dependencies with version constraints rather than leaving them open-ended. Use pyproject.toml for modern projects:
[project]
name = "myproject"
dependencies = [
    "requests>=2.28.0,<3.0.0",
    "Click>=8.0.0",
]

[project.optional-dependencies]
dev = [
    "pytest>=7.0.0",
    "black>=23.0.0",
]Running sudo pip install on macOS or Linux.
✅ Use a virtual environment or pip install --user if you absolutely must install globally.
Not specifying version constraints — pip install requests always grabs the latest.
✅ Pin a range: requests>=2.28.0,<3.0.0.
Installing packages from unverified or typosquatted package names.
✅ Double-check names, use --require-hashes in CI, and verify on PyPI directly.
🎯 Key Takeaways
- Virtual environments are non-negotiable. Use
python -m venv venvfor every project and commitrequirements.txt, not the folder. - Manage Python versions with
pyenvon macOS/Linux or thepylauncher on Windows. Never modify system Python. - Fix package issues by always upgrading pip first, using pre-compiled wheels when compilation fails, and pinning dependency versions with sensible ranges.
Master these three habits and you’ll sidestep the vast majority of Python setup headaches — and spend more time writing code that actually matters.
Have a setup horror story or a tool that saved you hours? Drop it in the comments — I’d love to hear how the community handles these challenges.
Leave a Reply